How to Build a Raised Bed Garden From Scratch
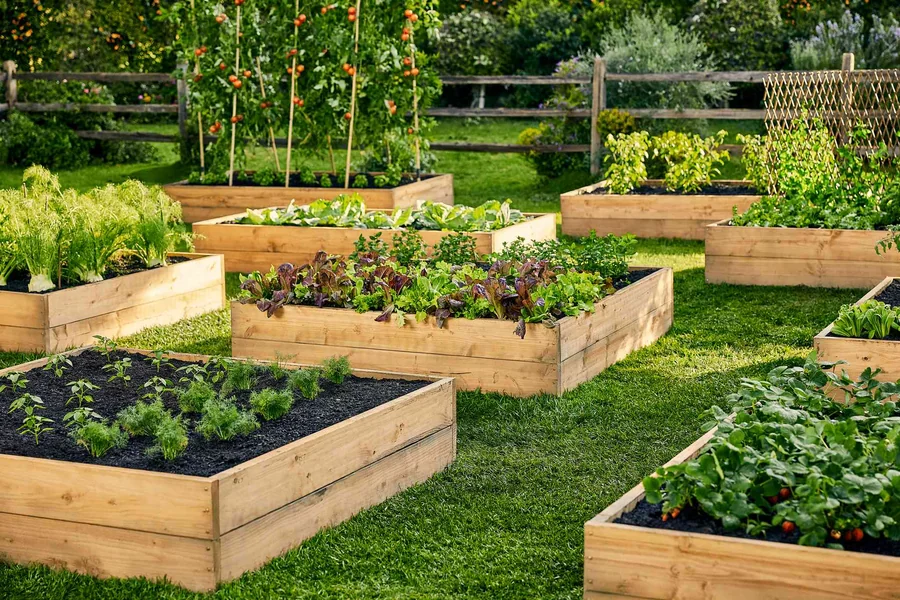
Growing your own food is one of the most rewarding projects you can take on in your backyard. Raised beds make this process much easier by giving you complete control over soil quality, drainage, and pests.
If you want to transform a patch of lawn into a productive vegetable plot, setting up a raised frame is the perfect way to start. Read on to learn how you can build, fill, and protect your new garden beds.
Choose the Right Location and Dimensions
Before you pick up any tools, find the best spot in your yard. Most vegetables need at least six to eight hours of direct sunlight daily, so avoid placing your bed under large trees or in the shadow of your house. It is also wise to set up near a water source so you do not have to drag a heavy hose across the yard every day.
When sizing, keep the width of the bed to four feet or less. This ensures you can easily reach the middle from either side without stepping on the soil and packing it down. For depth, aim for at least twelve inches. This gives roots plenty of room to stretch, especially for carrots and larger tomato plants.
Select Safe and Durable Materials
Choosing the right wood is critical because some materials pose health risks. Avoid using reclaimed railroad ties or older pressure-treated lumber. These materials often contain harmful chemicals, such as chromated copper arsenate, which can leach into the soil and contaminate your food.
Instead, opt for naturally rot-resistant lumber like cedar or redwood. These woods cost more upfront, but they will last for over a decade without rotting. If you are on a tight budget, untreated Douglas fir is a great alternative, though you will need to replace the boards after five to seven years.
Assemble Your Raised Garden Frame
Build the Wooden Box
Putting the frame together is a simple task that requires only basic tools. Cut your lumber to size and place the boards on a flat surface to form a box. To keep the corners strong and prevent bowing, place a wooden post, such as a two-by-four, in each inside corner and screw the outer boards directly into it.
Prevent Underground Pests
Use galvanized deck screws because they resist rust and won’t snap under shifting soil pressure. Once the frame is assembled, move it to its final spot. If you deal with moles or gophers in your area, staple a layer of galvanized hardware cloth to the bottom of the frame before you fill it.
Fill the Bed with a Rich Soil Mix
Many beginners make the mistake of underestimating how much soil they actually need. You can calculate the exact volume by multiplying the length, width, and depth of your frame. If you fill the bed with plain dirt from your yard, it will pack down too tightly, suffocating the roots and preventing proper drainage.
To give your plants the best environment, use a blend of compost, topsoil, and coarse sand or perlite. A classic mix consists of sixty percent compost and forty percent topsoil. This combination provides a wealth of nutrients and keeps the ground light and airy, allowing water to drain away freely.
Extend Your Growing Season with a Cold Frame
Home growers often want to keep their gardens going long after the summer heat fades. You can easily do this by adding a simple wooden lid to the top of your bed, turning the structure into a cold frame that traps warmth and blocks freezing winds.
When building the lid, you need a material that lets in maximum sunlight without adding too much weight. Instead of heavy glass that can shatter, you can construct a hinged frame using clear PETG sheets as the protective glazing. This plastic is highly impact-resistant and lightweight, making it easy to open the lid for ventilation on sunny days and close it securely when the temperature drops.
Set Up Your Garden for Long-Term Success
Building your first raised garden bed is a practical project that pays off in fresh, healthy produce for years. By choosing safe materials, placing the bed in a sunny spot, and protecting your plants from cold weather, you create the ultimate growing environment.
Start with one or two beds to keep maintenance manageable. Once you see how much easier it is to control weeds in a raised frame, you can always expand your setup. Grab your tools, plan your layout, and get ready to enjoy the satisfaction of harvesting your own home-grown vegetables.