Top 5 Tips For Using An Elisa Kit Effectively
The Enzyme-Linked Immunosorbent Assay (ELISA) remains vital to diagnostic research, thanks to a specialized kit. This scientific tool allows researchers to detect small amounts of specific analytes, such as germs or proteins, within the human body.
It works similarly to a matching game. For instance, if a specific germ is present in a drop of blood, the kit uses antibodies to latch onto it. The kit changes color when it detects the target analyte, making it easier for scientists to confirm it is present.
While this protocol may seem simple, it is extremely delicate. Mishandling the tool may lead to erroneous readings, which can result in major problems.
Getting the best out of this tool requires attention to small details to ensure consistent results you can repeat. Let’s examine the five best ways to use this kit to ensure accurate, reliable results.
The likelihood of successfully applying the ELISA kit depends on how well you follow certain protocols. These five tips can help you get accurate readings with this tool:
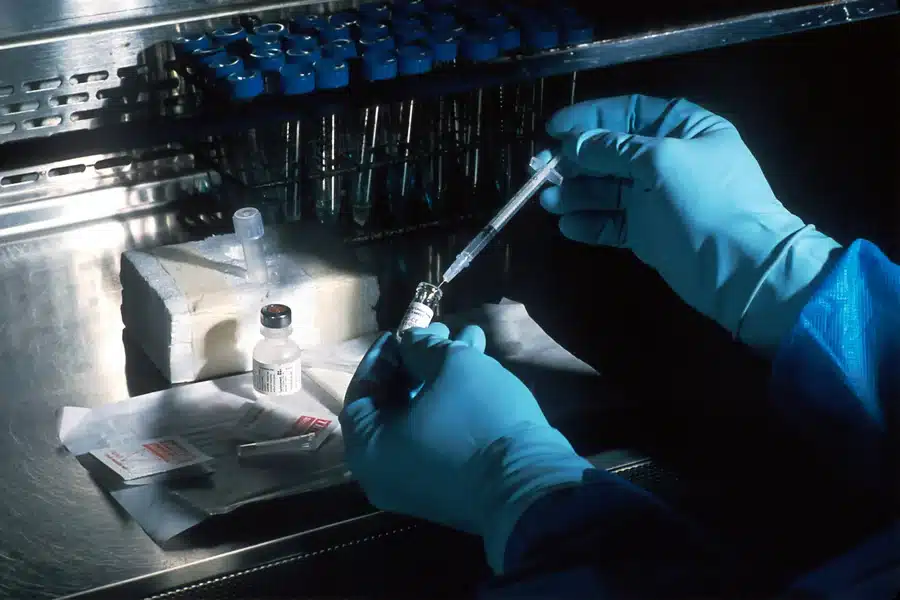
1. Proper Sample Preparation
Proper sample preparation is essential for obtaining accurate and reproducible ELISA kit results. Since the assay is highly sensitive, even small errors at this stage can significantly impact outcomes.
Always ensure samples are collected, labeled, and stored correctly to keep the samples stable. Avoid repeated freeze–thaw cycles, as these can degrade proteins and reduce assay sensitivity. Following proper laboratory protocols to prevent contamination, using sterile tubes and clean pipette tips throughout handling.
Pay close attention to sample dilution, ensuring values fall within the kit’s detection range and align with the manufacturer’s instructions. Incorrect dilution can lead to readings that are too high, too low, or outside the standard curve.
Finally, consider matrix effects from different sample types, such as serum or plasma, as these may influence antibody binding and signal detection. Proper preparation leads to a more consistent ELISA performance.
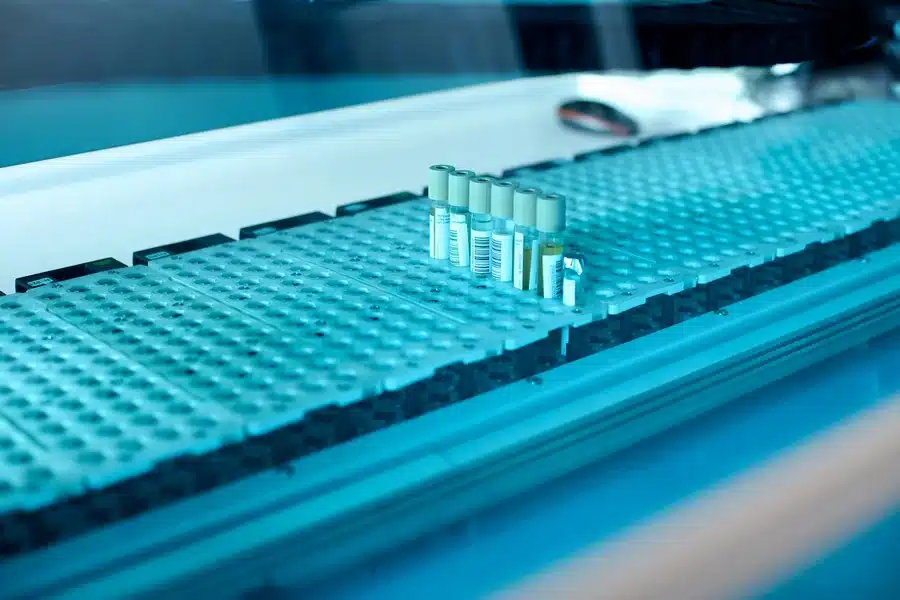
2. Caution with Pipetting Technique

Scientists use a pipette to move tiny drops of the initial dilutions. Inaccuracies at this stage become major errors as the process progresses.
To ensure accuracy, every transfer in serial dilution must be consistent: each drop should be the same volume, and a fresh pipette tip should be used for each transfer to prevent cross-contamination. In addition, samples are often loaded in duplicate or triplicate, as repeating the same test makes it easier to identify potential errors in the first attempt.
Finally, for viscous samples such as serum and plasma, reverse pipetting is commonly used because it allows the full volume to be dispensed more accurately without forming air bubbles.
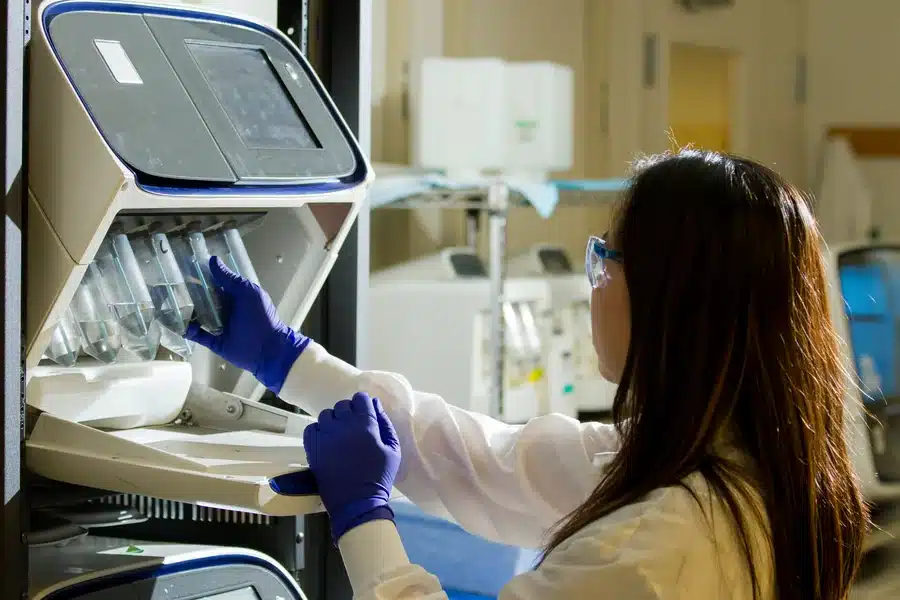
3. Ensure Proper Plate Washing
Plate washing is crucial when using the ELISA kit. Poor washing would lead to high background interference and false positives.
A laboratory plate is clean when there is no residue from previous use. So, invert and tap the plate vigorously against clean, lint-free absorbent paper after washing. Doing so would prevent any remaining wash buffer from diluting the next batch of substrate.
Once the plate is clean, be attentive to the incubation time for each task. Although you don’t expect the same incubation times per test, you don’t want the intervals to vary beyond +/-5 minutes per hour. Let the plate soak for at least 30 seconds before washing the next batch.
How you intend to clean the plate is also crucial to the outcome of the experiments. Most professionals prefer automated to manual washing as this method guarantees consistency. However, operators must regularly calibrate the automated washers correctly to avoid clogging the dispense manifolds and prevent the aspiration vacuums from stripping off antibodies from the wells.
4. Proper Data Interpretation and Controls
The “Standard Curve” lets you know how much of the target analyte exists. If the curve is flawed, the concentration values assigned to the unknown samples are invalid.
How accurately you observe the dynamic range determines the curve’s outcome. Samples must fall within the linear range of the standard curve, as any unusually high optical density (OD) reading from an unknown sample should be re-assayed to ensure accuracy.
In addition, allow lyophilized standards to sit for 10 to 15 minutes after reconstitution for complete protein folding and solubility.
5. Follow Protocols Precisely
Timing is particularly crucial to successfully carrying out lab operations. When a reaction continues for too long, the signature eventually saturates, making it impossible to differentiate between high-concentration samples.
First, you want to monitor the process visually to ensure you are following the correct protocols. Closely watch the development of the blue color. The reaction typically stops once the color of the highest standard turns blue, provided the blank wells have not yet shown any color.
Take your reading immediately you get the desired color change. Ensure you read the plate within 5 to 10 minutes of adding the acidic stop solution, which turns the TMB from blue to yellow. Delaying your reading will lead to a drift in OD values.
After taking your reading, apply a correction wavelength (if the microplate reader allows it) to facilitate correction for optical imperfections in the plastic plate.
Summary
Producing reliable data with an ELISA kit goes beyond simply following a list of safety rules.
While the protocol for reproducible data can be tricky, there are proven ways to perform these delicate operations successfully. From mastering the plate-washing technique to ensuring the correct atmospheric conditions, scientists and researchers have a high chance of achieving accurate results.
In this delicate field, even the tiniest of details matter, and the slightest of protocols may make the greatest impact.