DIY Sticker Sheets: How to Plan a Set People Will Use
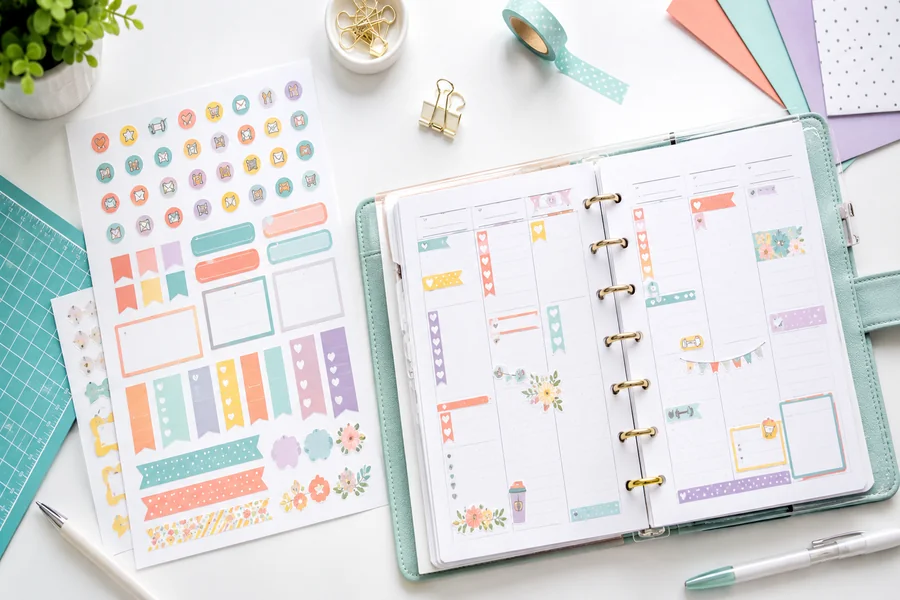
A sheet of stickers is one of those projects that looks easy right up until you make one. You sketch a few designs, print them, and then half come out fuzzy, two are touching, and nobody can figure out how to peel the tiny one in the corner. DIY sticker sheets reward planning, and most of that planning happens before anything goes near a printer.
So here’s the planning part, in roughly the order it tends to matter.
Start With Where the Stickers Will End Up
A sheet for a kid’s reward chart has different needs than a sheet tucked into an online order. Young kids need big, simple shapes they can peel without help. A planner sticker can be tiny and detailed, because the person using it is sitting at a desk with time to fuss.
Think about whose hands will hold the sheet. Gift sets for grandkids, party favors, a thank-you insert for a small shop, labels for a pantry cleanup. Each one changes how big the stickers should be, how many fit, and how tough they need to be.
Surface matters too. If the stickers are headed for a water bottle or a laptop, paper usually won’t last long, and vinyl tends to hold up better to handling and the odd splash. Paper is fine for journals, cards and anything that mostly sits on a shelf.
Pick a Theme, Then Cut the List Down
This is where most sheets go wrong. People draw fifteen designs because they like all fifteen, then cram every one onto a single page.
A sheet reads better with one clear theme. Garden vegetables. Inside jokes from a family trip. A shop logo in three colors with a couple of matching icons. Sketch everything you want, then drop the weakest few, and you’ll have room to space things out properly (which comes up again later).
One trick that helps: give the sheet one larger “hero” sticker and let the smaller ones fill in around it. It gives the eye somewhere to land.
Make Sure the Art Is Yours to Use
Quick, but worth saying. It’s tempting to drop a favorite cartoon character or a team logo onto a sheet, especially one made for kids. That gets risky once the stickers leave your house, whether you’re selling them, handing them out at an event or packing them into orders.
The U.S. Copyright Office’s guidance for visual and graphic artists explains that the copyright owner holds the right to make, sell and distribute copies of a work. Using someone else’s protected work may require permission from the copyright owner, unless an exception such as fair use applies. The same page notes that common symbols like hearts and smiley faces, along with typography, aren’t eligible for copyright protection. A simple logo may not qualify for copyright protection, but trademark rights can still apply.
So the safest sheets are built from your own drawings, your own photos and your own lettering. They also tend to look more personal, which is half the appeal.
Home Printer or Print Shop?
Both work. They suit different jobs.
Home printing makes sense for:
- A handful of sheets for a party or a one-off gift
- Testing a layout before committing to a bigger run
- Paper stickers for journals, cards and planners
Professional printing may make more sense for:
- Anything you’re selling or giving away in volume
- Vinyl stickers meant to survive bags, bottles and laptops
- Sheets where the cut lines need to be precise
Whichever way you go, the file matters more than the printer. Print services commonly ask for images at 300 dpi or higher, and one university print shop’s file setup guidelines point out that images downloaded from the internet can look fine on screen and still print pixelated or blurry. If you’re drawing from scratch, set the file up at the size the stickers will print. Scaling a small image up afterward won’t add detail that was never there.
Lay Out the Sheet So People Can Peel It
Spacing is the unglamorous part. It’s also a big part of what makes a finished sheet look polished.
Leave room around the outer edge so nothing gets clipped if the cut drifts a little, and leave a gap between stickers so they don’t catch on each other when someone peels them. As one starting point, Stickerbeat recommends 0.15 inches between stickers and 0.25 inches from the sheet edge, though requirements can vary by printer. Print services may require bleed, which extends the artwork slightly beyond the cut line, so a slightly off cut doesn’t leave a white sliver where color should be.
For a practical example, Stickerbeat’s guide to DIY sticker sheets outlines sheet sizes, spacing and bleed requirements. Most sheets are kiss cut, meaning the blade goes through the sticker layer but not the backing, so everything stays on one page until someone wants it.
And watch the tiny ones. Small stickers are harder to peel than they look on screen, so if a design only works at fingernail size, make it bigger or cut it.
Print One Before You Print Fifty
Print a single test sheet at actual size and peel every sticker on it. A printed sheet shows problems that are easy to miss on a monitor.
Common ones include lines too thin to show up and colors that looked distinct on screen but blur together in print. Screens and printers produce color differently, so print shops often ask for files in CMYK color mode rather than RGB.
Ordering from a print shop? A digital mockup or proof is useful for checking layout and sizing, but it can’t show how the finished sticker will feel or peel on the actual material. View it at real size before you approve anything, because a layout that looks balanced at full-screen zoom can feel crowded at three inches across.
Small Touches That Make a Sheet Feel Finished
A few details go a long way here:
- A matte finish can often take pen better than gloss, depending on the pen and material, so names or dates may go right on the sticker
- A small title sticker that names the set, like “Garden Club” or “Road Trip 2026”
- The same border style on every sticker, so the sheet reads as a set and not a pile
- A backing card or clear sleeve if the sheet is a gift
None of this takes long. Most of the work is deciding what the sheet is for and then being a little ruthless about what makes the cut. The drawing is still the fun part, anyway.